Most people who order a custom acrylic product have little idea what actually happens between sending their design file and receiving a finished, polished product. At Acrylic Masters in Al Quoz 2, Dubai, we handle the entire fabrication process in-house — from raw sheet to finished product — with a team of skilled technicians and a suite of precision machinery. Here's exactly what happens behind the scenes.

Step 1: Design File Preparation
Every acrylic fabrication project begins with a design file. Clients send us their designs in DXF, DWG, AI (Adobe Illustrator), vector PDF or CorelDRAW format. Our team reviews the file for:
- Cut path integrity — all lines are clean, closed vectors without overlaps or gaps
- Material suitability — we confirm the design is achievable in the specified material and thickness
- Tolerance checking — we verify that critical dimensions will be achievable within our machine's tolerance
- Nesting optimisation — we arrange multiple parts on the sheet to minimise material waste
If a client doesn't have a design file, our in-house design team creates one from a sketch, photo or brief — typically within 24 hours.
Step 2: Material Selection & Preparation
We stock cast PMMA acrylic sheets in thicknesses from 1mm to 25mm, in clear, frosted, mirror, UV-resistant and 20+ colours. The correct sheet is selected based on the application, then cut to a manageable panel size for the laser table.
The protective masking film on both sides of the acrylic sheet is left in place during laser cutting — it protects the surface from scratches and burn marks during processing.
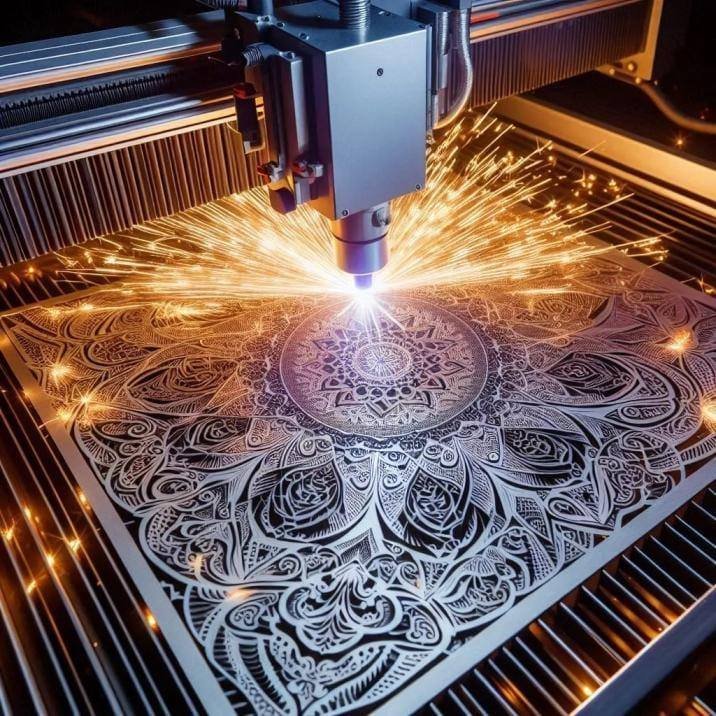
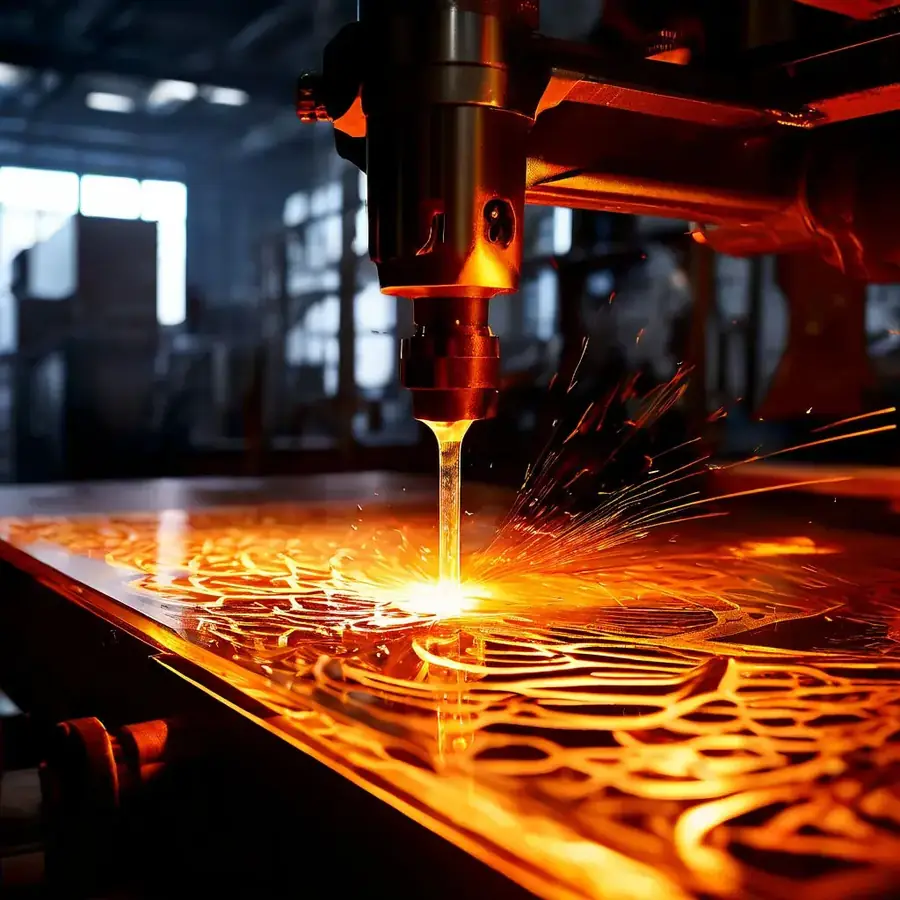
Step 3: CO₂ Laser Cutting
The design file is loaded into our laser control software. Our CO₂ laser machine precisely follows the cut path, vaporising the acrylic along each line with a focused beam of infrared light.
Key parameters controlled during cutting:
- Laser power (watts) — adjusted for material thickness
- Cut speed (mm/min) — slower speeds for thicker material to ensure full penetration
- Air assist pressure — removes debris and cools the kerf to improve edge quality
- Number of passes — thick materials (15mm+) may require multiple passes
The result: clean, precise cuts with flame-polished edges that require no secondary finishing for most applications.
Step 4: CNC Routing (for thicker materials)
For acrylic thicker than 15mm, or for internal cuts that require a different approach, we use our CNC router. This removes material mechanically rather than thermally, producing a different edge profile that is then polished in the next stage.
Step 5: Edge Finishing
Depending on the application, cut edges receive one of several finishing treatments:
- Flame polishing — a controlled torch pass melts the cut surface to a clear, glass-like finish. Used for display stands, trophies and any application where edge clarity matters.
- Diamond polishing — mechanical polishing for the highest clarity edge quality. Used for premium trophies and awards.
- Sanding progression — for CNC-routed edges, progressing through grades from 120 to 2000 grit then buffing to clarity.
Step 6: Heat Forming & Bending
Many products — display stands, podiums, cases — require acrylic to be bent into angles or curves. We use strip heaters (for straight bends) and oven forming (for complex curves) to heat the acrylic to its forming temperature (~160°C) then shape it over a form tool.
Accurate bending requires precise temperature control — too cool and the acrylic cracks; too hot and it bubbles. Our technicians have the experience to achieve consistent, bubble-free bends that hold their angle permanently.
Get a Free Quote from Acrylic Masters
Based in Al Quoz 2, Dubai — we reply within 2 hours. No minimum order.
Step 7: Bonding & Assembly
Multi-part acrylic products are bonded using solvent cement, which chemically welds acrylic surfaces together at a molecular level — creating a joint that is stronger than the surrounding material and optically invisible in clear acrylic when applied correctly.
This stage requires clean, dust-free conditions and precise application technique to prevent bubbles, voids or visible glue lines. Our bonding technicians work in a dedicated area with controlled lighting to inspect every joint before the adhesive cures.
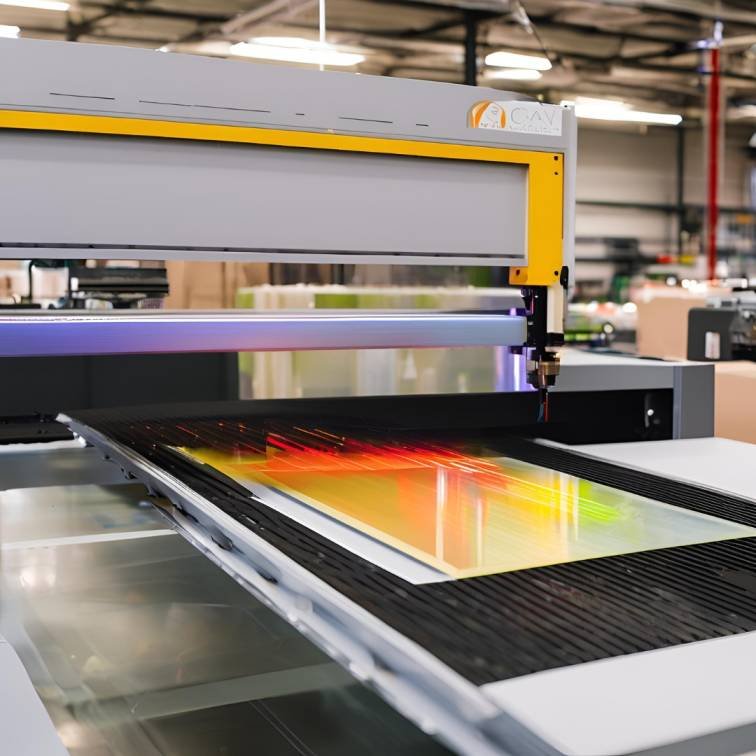
Step 8: Engraving & Printing
For products requiring engraving (logos, text, images, patterns), the laser returns to remove material at a shallower depth than cutting, creating a frosted white mark in clear acrylic or a contrasting impression in coloured material.
For products requiring colour printing, we use UV-curable inkjet printing directly onto the acrylic surface — producing full-colour, photographic-quality prints with excellent scratch resistance.
Step 9: Quality Control
Every finished product goes through a structured QC check before leaving our workshop:
- Dimensional verification against design file
- Edge quality inspection
- Surface inspection for scratches or defects
- Engraving/print quality check
- Assembly integrity for multi-part products
Step 10: Packaging & Delivery
Finished products are wrapped in foam or tissue, secured in appropriate packaging and either collected from our Al Quoz 2 workshop or delivered across Dubai and the UAE by our logistics partners.
For fragile or high-value items such as large display stands, trophies and architectural models, we use custom-cut foam-lined boxes that protect the product from transit damage.
Related Services
Share this article
Help others find this guide